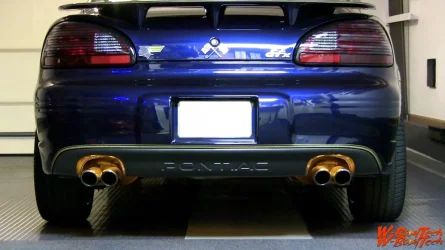
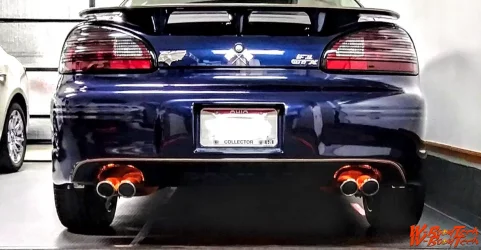
So to answer your question, yes I did all that upfront work in the very beginning knowing what I wanted to accomplish. I sat down laid out the suspension geometry as it was, then looked at what I could effectively change. Than calculated the numbers & began to make those changes. Now this did take place in incremental steps. In the end the goal was to lower the CG, raise the RC, increase the track width & increase the SSF number. Eliminate torque steer, decrease braking distance, increase power & increase cornering speed as well as stability. The changes were notable in the end.
I needed to look at factory perimeters, (SSF) static stability factor (1.37), weight distribution(65/35), CG(22.45”), front RC(23.70”), rear RC(23.70”) wheel base(110.5), track width ft.(61.7) rr.(61.1) & suspension geometry. These numbers are not very good for a car that you want to handle, they're pretty normal for FWD though.
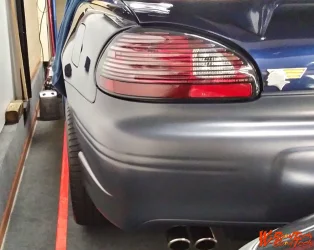
After modifications, (SSF)(1.76), this is a sports car number, weight distribution (54/46), CG(20.85”), front RC(25.88”), rear RC (25.88”) wheelbase 110.5 (same as OEM), track width ft.(73.5”), rr.(73.25”) & suspension geometry completely modified.
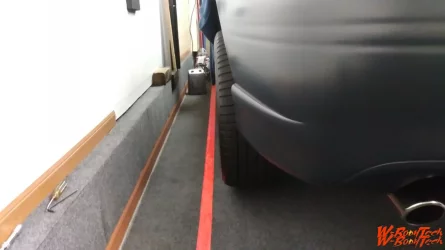
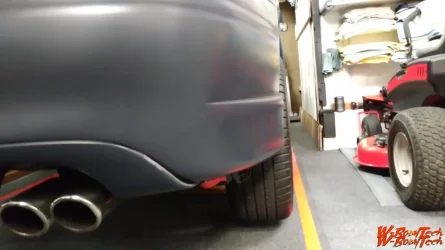
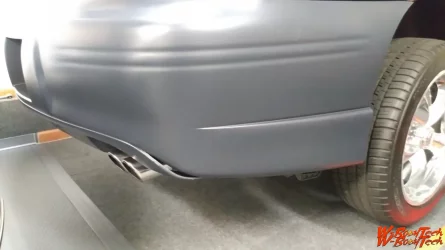
So without getting to technical & lengthy, it goes like this. To effectively increase handling you must lower the CG & raise RC & weight distribution if that applies needs to be 50/50 or as close as possible. So the first thing you would always prefer is to lighten the car where needed, but when you can’t you move the weight around and where necessary you add some, thus was the case here. Than you look to increase the track widths & last modify the suspension components to take advantage of those changes.
I know lots of folks lower their cars & that certainly is their choice, but I don’t believe they really understand what that does to the RC! And while it lowers the weight over the wheels; it virtually has no impact on CG! But! & it’s a big one it, changes the the RC in a bad way!