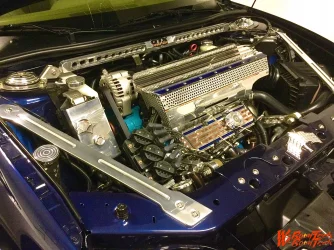
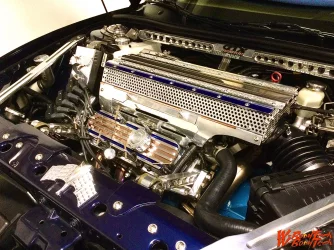
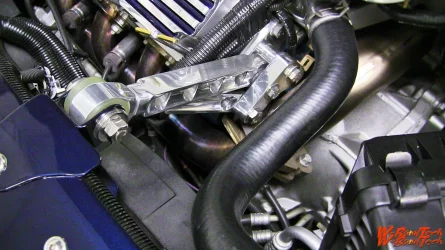
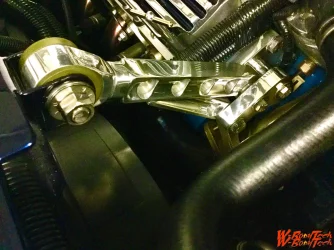
Thanks! The top engine mounts were one of the first on my list of had to be done. Not sure how many here know, but the factory mounts have been a problem with any kind of real power. Whether that was through increased engine power, better tranny lockup or polyurethane bushing adds to get more power to the ground. Lot of guys break the engine side brackets. There is a simple answer as to why that is! The mounts are not on the rotational axis of the engine. Instead they are on the weak side of what would be the lever fulcrum. I engineered a new set of brackets & dog bones that place the brackets on the rotational axis. They are attached at the cylinder heads! Which by no coincidence there are threaded holes for just such a function.
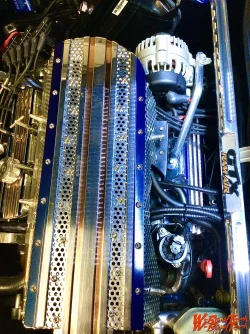
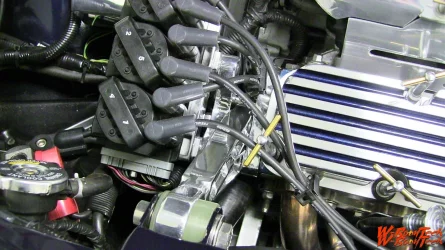
Additionally on the right hand side, where the coil packs are, that design of that mount allowed me to move the whole coil pack assembly out away from the cylinder head. The factory setup places the coil pack assembly right up against the head where excessive heat can cause issues with those coil packs. Moving them away actually lowered coil pack temps 30 degree.
If anyone has an interest I have the prints for these in pdf form.